The Temple of Elemental Light
![]() Back to Quests
Back to Quests

Linvak Massif
Quest Overview
Solve the mysterious puzzles of the Temple of Elemental Light and gain strength to face chaos corruption.
Type: Group
Requirements: Level 54+, daytime
Start Location: Stoneshadow Plains Southwest, 28.3S, 25.3W
Quest Starter: Empyrean Scholar Kathyr
Time Limit: 24 hours
XP Reward: 10% (353,017,375 @ L58)
Other Rewards: Light Lattice
Repeat Time: 13 days
Related Quests:
Walkthrough
*IMPORTANT NOTE: the portal to the dungeon only opens during daytime.
To begin the quest, speak to the NPC inside the tent at 28.3S, 25.3W, in Southwest Stoneshadow Ringway.
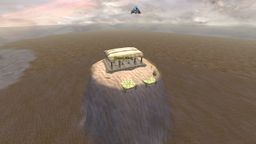
Next, swim to the island SE of the starter where the temple is (in-game map doesn't show it).

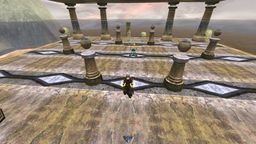
There are six outer pillars and one inner pillar in the middle (looks like a bowl). You must unlock (click) the pillars in the correct sequence to open the portal to the Temple of Elemental Light dungeon. It's better for one designated member of the fellowship to click the pillars and open the door to avoid resetting by mistake.

You need to touch a pillar to unlock it, and then never touch it again until the sequence is done. If you touch it again, they will reset. The inner one will give you information on what is happening, so the best way to unlock them is to use one pillar at a time checking the inner pillar in between for information.
When you've clicked the correct one, the inner pillar will say that ONE of the lights will be "set". That pillar is now ready and you now need to only click the others until all 6 are "set". So the key is to read the information from the inner pillar and notice any change in description when clicking. If there is no change, just try another pillar and then touch the center again. When all are set, the portal will open and all fellows can enter the dungeon.
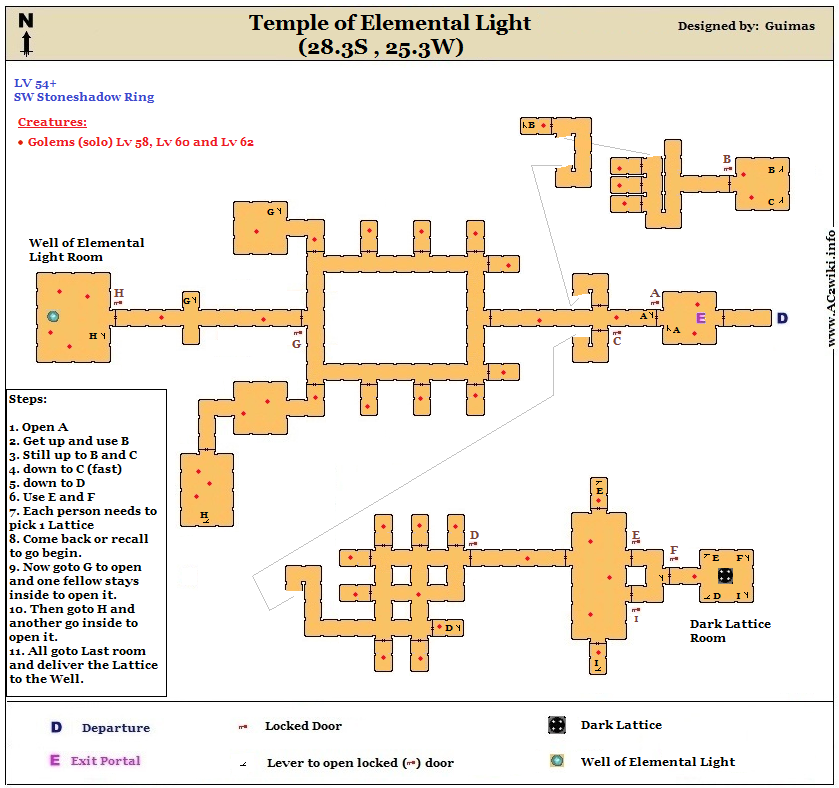
Inside the Dungeon use the map and this information:
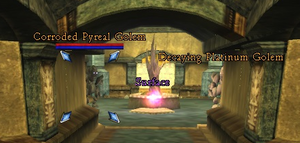
- First door is opened by lever A. Kill Golems and use it.
- Then you will see 2 doors, and one of them is locked (C). You need to enter the locked one, but first need to find the lever to unlock it. So enter the other door up and find the lever B that opens the upper room. Inside this room, you will have a lever to open it and door C.
- Hurry back down to door C and enter.
- Down this path, you need to find lever D (see map) and then proceed to E and F so you enter the Dark Lattice Room.
- Inside the room, each fellow member needs to pick one
 Dark Lattice.
- Now, use the levers in reverse order until you get back to door C. If you get lost or can't find the levers, just recall and open the dungeon portal again.
- From door C, you now need to go to the Well of Elemental Light room. For that, you need to open doors G and H.
- The best way is to open door G, then 2 or 3 members of fellow stay inside near the inner G lever.
- The rest of the group goes to open the H door. When it's open, one or two of the members inside G enter the last room and stay at the H lever in case the door closes.
- Open G, Open H and all in. Inside Well room, all need to clear the Dark Lattice in the Well to advance and turn it into
 Light Lattice.
After you're done, return to quest starter for your reward.

